I have been so excited about writing this post and showing you guys what I have been up to.
My favourite group on Facebook is a group called DIY ON A BUDGET. I am obsessed with it and I love seeing peoples creativity on there, it’s inspiring and the best part is that most of what you see is affordable and achievable.
One particular project I have been wanting to have a go at is giving my kitchen a makeover by painting my kitchen cupboards and changing how it looks. Now that it is mostly finished I wanted to share it with you.
This is a before photo: ( please excuse the quality as I had to dig them out of old photos)


After:

If you want to know how I did it and what I did then keep reading.
What you need:
The first thing I had to decide on is what brand, and what colour I wanted to go for and after scrolling through so many inspo photos on diy on a budget, I decided I would go for Wilkos quick dry furniture and cupboard paint in the colour mineral stone. (I used 1 and a half tins in total for my kitchen)
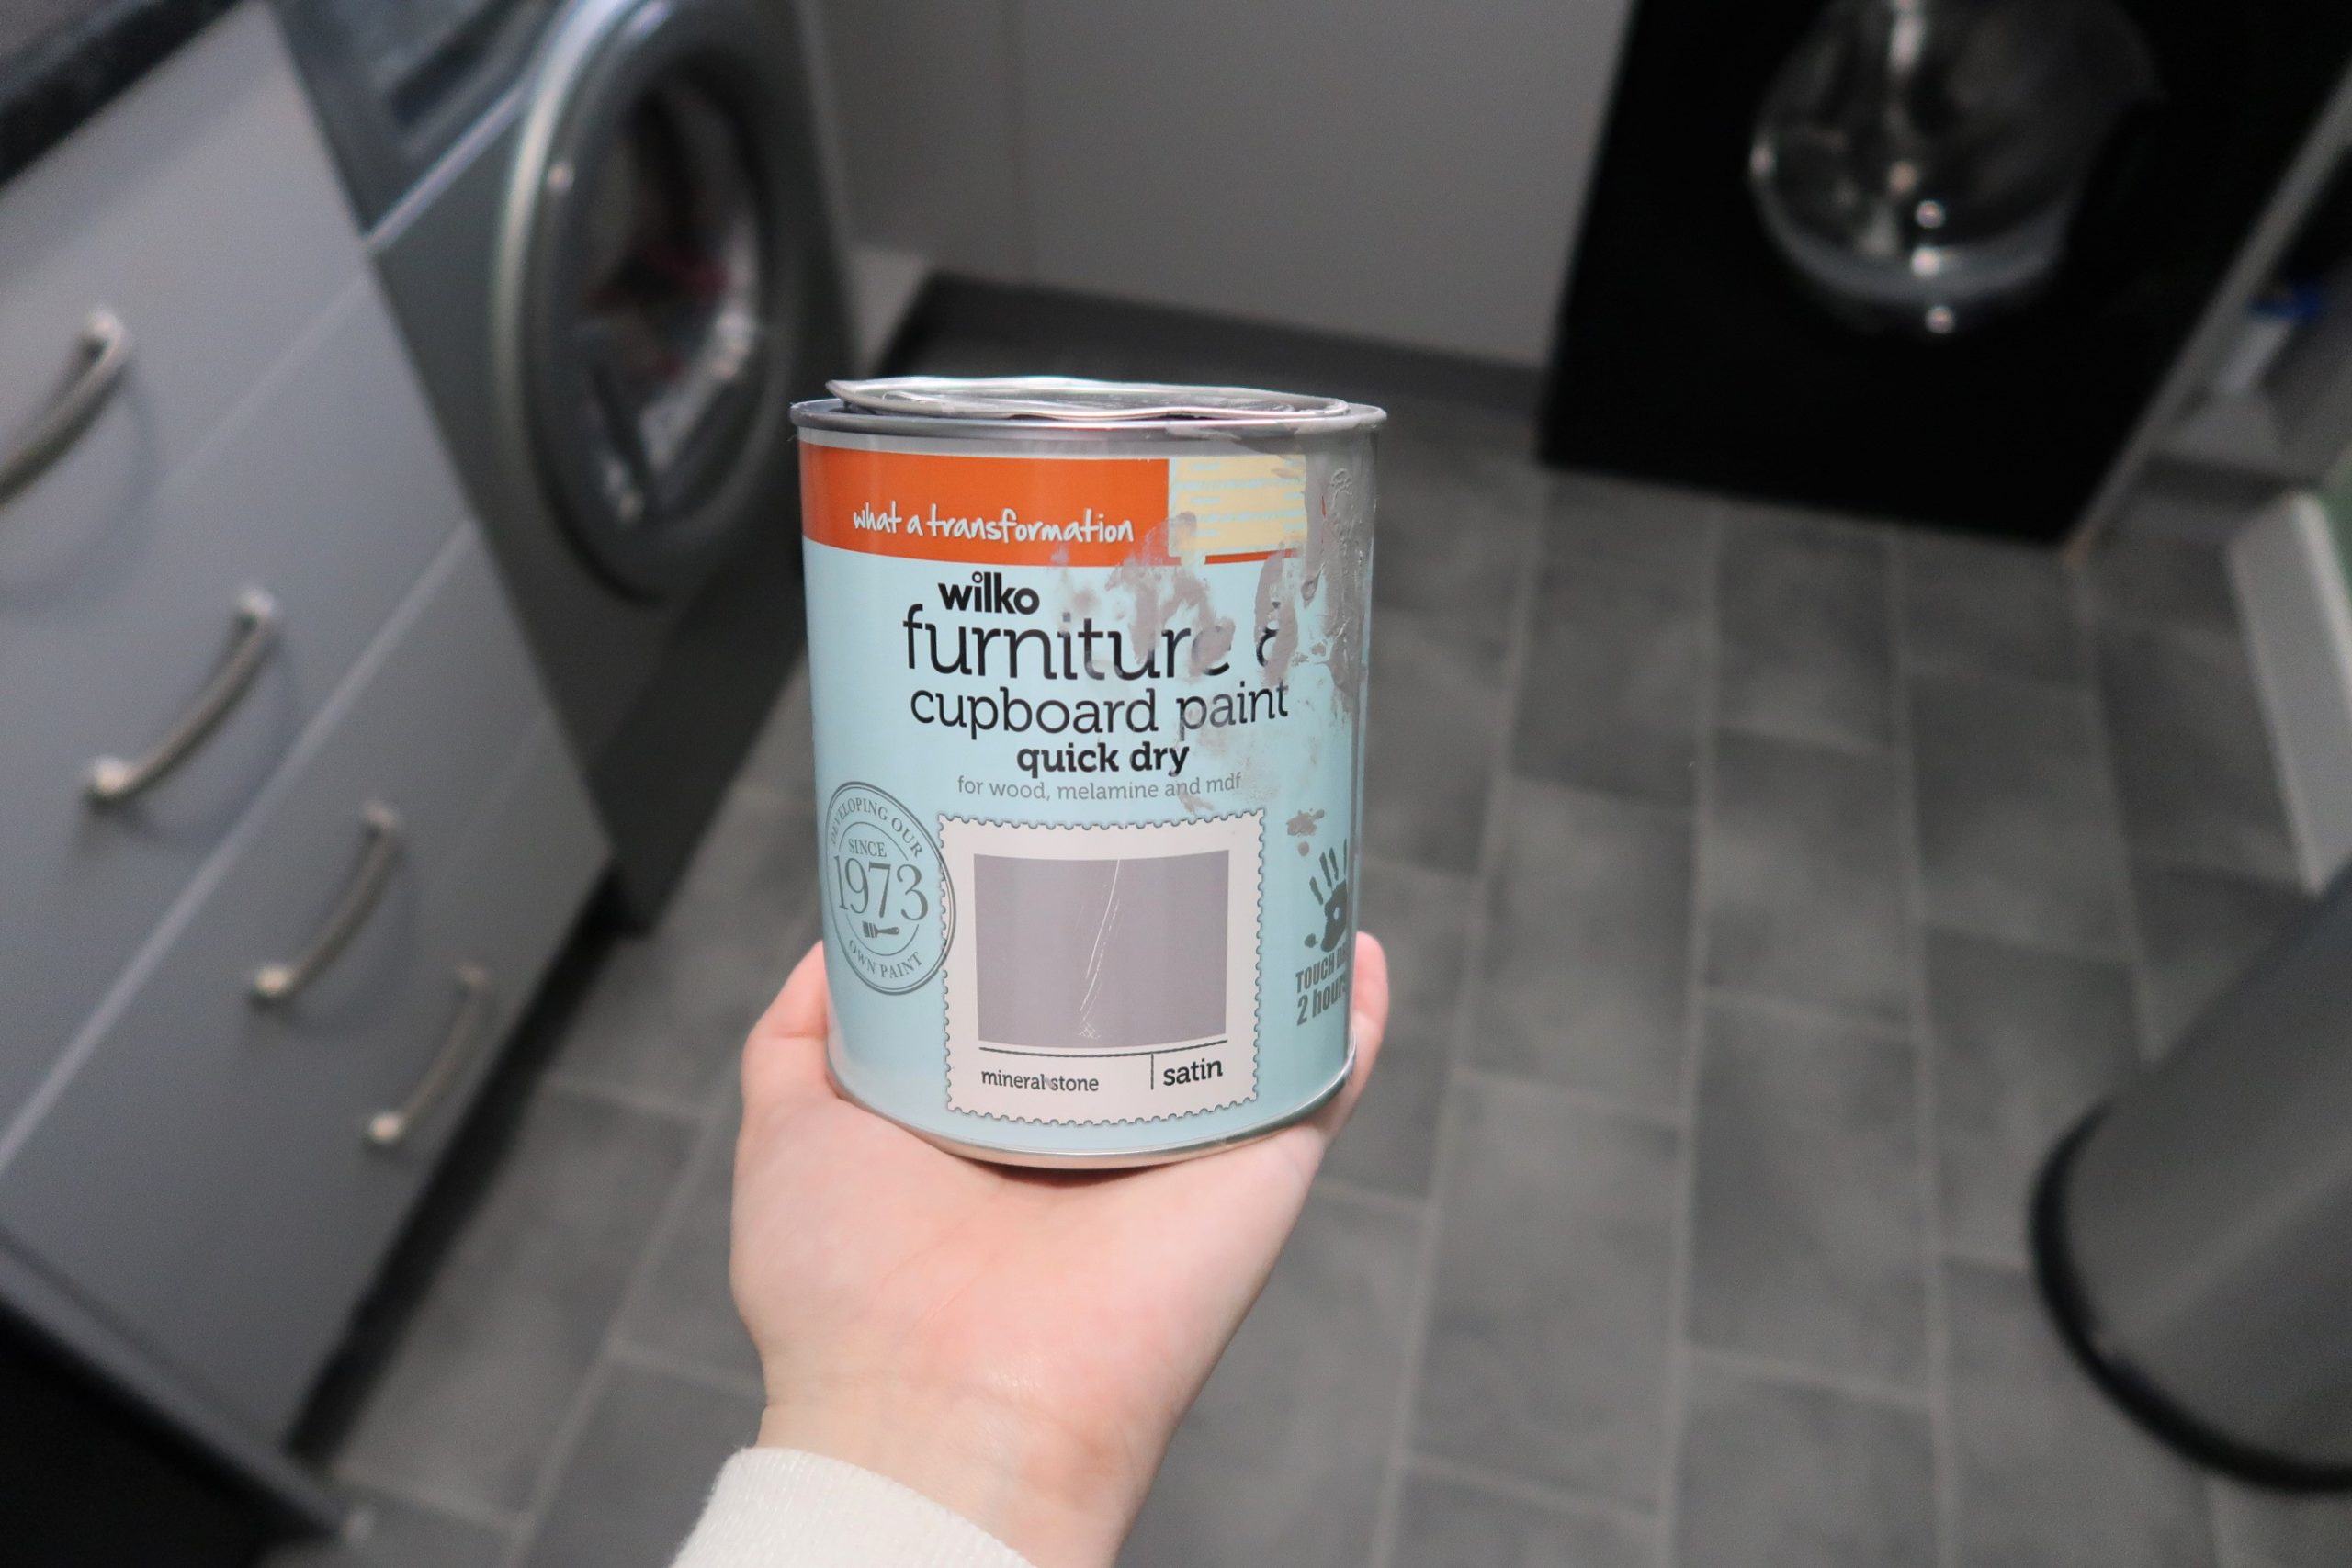
You will also need to buy a bottle of sugar soap (£2.50) and foam roller. I brought mine from Wilko’s as it was all the same place but brought extra foam rollers from screw fix. Bare in mind that this paint is satin so you will also need to buy some white spirit to clean your tray. I chucked my foam heads away after being used and used a new one as it can get quite messy and I did this over a few days.
Prepping your cupboards
Do not skip using sugar soap because it does actually make a huge difference to the finish and after all, what is the point of even carrying on if you are not going to do it properly. The sugar soap cleans all the grease and oils off the cupboards and preps them ready for the paint.
I kept my cupboard doors attached when I painted mine and just took the kitchen handles off.


Getting started
As you can see in the photos, my cupboards are all melamine which is a low pressure laminate covering. I was very nervous about applying my first coat, I even closed my eyes tightly whilst doing the first roll. There was absolutely no need for me to be worried because it went on so smooth and neat. I managed to complete the first coat to my whole kitchen in just over an hour.
Cutting in
I am a total neat freak so precision is essential for me or I wouldn’t be happy. As this paint is an oil based paint, I decided that a pack of baby wipes would be my best friend for this part.
I found a thin paintbrush, when in hindsight I should of just used my cutting in brush, but I didn’t want to throw it away after using it which is what I did with this. I used the brush to get as close to the edges as possible and then wrapped a baby wipe round my finger to wipe off the excess.

A second coat
I did a second coat on the cupboards just because I could still see patches of the brown underneath. The tin says that this is a quick drying paint and that statement is true, however, when they say quick dry they mean it doesn’t stay wet for long before becoming tacky, but as I did mine in the evening and by the time I woke up it was dry. It also takes three days to harden up properly and when it does, it really does.
Kick boards
I have never had the need to take my kick boards off before doing this and always wondered how to take them off and its simple, they are clipped on so you just have to pull them out paint them. I only did one coat for these but did add more paint for a thicker covering, as I couldn’t be bothered to do two coats, and they look great.

The finish
Quite simply the finish is beyond what I expected and everything I had hoped it would look like. Just take care not to press hard when rolling otherwise you will get lines, and be careful for drips because they look horrible when dried; I have a few but you can’t see them thankfully, unless you are really looking.


The only other things I changed in my kitchen was my flooring and lighting.
Floors– If you are local to Peterborough then I can highly recommend Sean and Gemma from Affordable Floorings. They have done a fantastic job and it looks great.
Lighting– The lighting in my kitchen was depressing; so dark and dull and it made me feel miserable. Now we have a bright LED light which we brought for about £17 off Amazon and it’s now a happy bright room which I now like being in.
Paint– I have not re-painted my walls but plan on doing them soon.
Tiles– I want these tiles but I am still undecided. What do you think? Let me know in the comments.
Worktops– My worktop is dark and has light grey specks in which goes with the grey in my new flooring so I kept them as they are.


Looks really good Jo. your a clever girl .
Hi looks fantastic Jo. But I would not use mirrored tiles in the kitchen- you will forever cleaning them as they will show every splash and look awful and you will be very unhappy after a week or two. Keep to something that can handle it without destroying the lovely look of your kitchen