Why I started making wax melts
During the first lockdown, people spent their time either redecorating their homes, painting their fences or doing their gardens up. I was going to repaint my fence but could I for the life of me find blooming fence paint? nope! I was bored and wanted to learn something new but nothing was jumping out at me until I put a new wax melt in my burner. I had always wanted to make candles before but never knew where to start.
My friend even bought me a candle making kit for Christmas and when I had researched into it, it wasn’t as straightforward as I thought it would be. I thought all you would need to do is melt the wax, add the scent, pour it into a mould and leave it to set and voila! Nope!
There are many different waxes you can buy and they all meltdown at different temperatures and they need to be at a certain temperature when adding things like your colour and your fragrance oil and don’t get me started on CLP labels if you are wanting to go on to sell your creations.
After a short, while I got the hang of making them, so I thought I would create this “how-to” to help others who have a love for wax melts and want to give it a go themselves.
This is just how I make them but there are many different methods you can use.
Things you will need to get started:
- A metal jug -I got mine for a quid in Asda
- Scales
- lollypop sticks – These make great stirrers.
- A digital thermometer – I brought mine from Amazon
- Wax – For wax melts you will need a type of wax specifically for melts and if you want to make candles you will need to buy container wax.
- Fragrance oil – There are so many different scents out there.
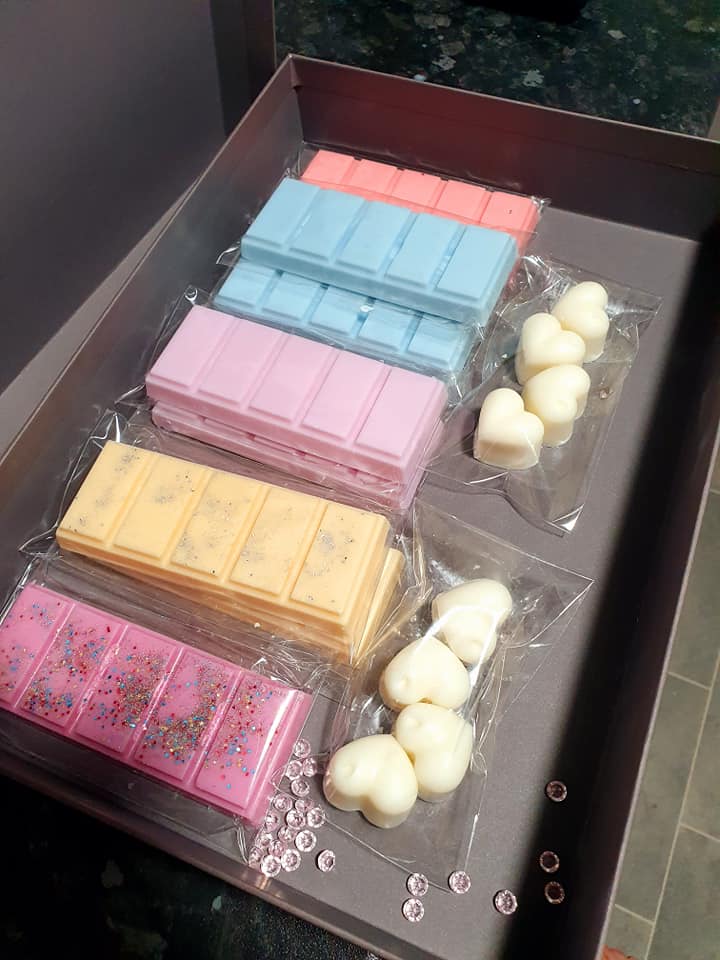
- Moulds – I use silicone as they are easier to remove the wax once its set.
- Mica powder, liquid, chips – This is what you use to change the colour of the wax, I use powder and chips.
- Cello bags – to package your melts in afterwards
When making wax melts you should use the ratio of 100g of wax to10ml of fragrance oil and you should always weigh your fragrance oil because some are heavier than others. For example, if you are making a bigger batch and are melting 500g of wax then you can add 50ml of fragrance oil.
I use the double boil method which means I add the measured wax to the metal jug and sit it inside a pan of boiling water and melt it down this way. Some people use slow cookers and soup makers but I have no idea how to do it that way.
Step by step:
- Measure your wax – I use golden wax 494.
- Measure out your fragrance oil. I use an egg cup.
- Fill your kettle up, boil it and add it to a saucepan. Place your metal jug with the wax in inside it.
- Use your lollypop stick to stir the wax as it’s melting down/
- I remove the wax jug from the heat when the temperature hits around 80
- Add a little bit of the colouring. Dont add to much or your finish piece will have little holes in where the colour has sat and set.
- When the temperature gets down to around 70 I pour in my 10ml of fragrance oil and stir for two minutes.
- Pour the wax into the moulds when the temperature is around 65-60 and leave it to set. – I leave it over night to make sure its set properly.
With the type of wax I use, it’s prone to frosting which happens when hot wax is poured into a mould that isn’t quite at room temperature. It looks like little specks of frost but it doesn’t affect the smell of the wax melts at all, it just looks a bit different. Some people pop their silicone moulds in the oven to warm them up before pouring them, I only make them for myself so only do this when I can be bothered.
With Golden wax 494, the cold scent throw is amazing but, you do need to leave them to cure for two weeks before burning them which can be a right faff. When I made my first batch I was so excited to burn one because it smelt incredible, but the hot scent throw was very weak. I left the rest of them in a tub in a cupboard for the next two weeks and when I went back to them they were a hundred times better and the hot scent throw was much stronger.
When storing your wax melts, make sure they are in an airtight container with a label on the box so you don’t mix them up or you can package them straight into a cello bag. I usually pop a sticker on stating which scent it is as I only make for myself.

The legal stuff- Clp and warning labels and where to get them:
When making candles and wax melts and you are planning to give them to family and friends or sell them then you must be CLP compliant. What the heck does this mean you ask?
You can read all about CLP and warning labels here. The website where you buy the fragrance oil will have its own CLP information on each fragrance for you to download if you want to make your own labels, but make sure you get the correct website that your fragrance oil comes from.
There are so many different waxes out there to choose from all with different temperatures that work well with that particular wax. So my advice is to play around and find what works best for you, this is just what works for me.
These are just a few of the main suppliers:
- Craftovator
- Craftastik
- Stansteads
- Supplies for candles
- Livemoor
- Stansfield
- Truly Personal
- Fizzy whizz
CLP stickers – I use a lady on Facebook called Labels by Rebecca. You can also make them yourself using a website called Avery.
There you have it, it is literally trial and error and can take a long time to perfect them but give it a go and let me know in the comments how you get on.
People love receiving wax melts as gifts and they make fantastic thank you gifts for teachers, check out my other thank you gifts for teachers.

Hi well im thinking of starting up how much all in to start up n get everything plz